AI-generated illustration — not a retailer product photo.
For a UK owner facing a cracked screen, fading battery or charging problem, Fairphone’s repairability is best understood as a practical decision process rather than a promise that every fault can be fixed at home. The company provides an official route that starts with diagnosis, then points owners towards either a DIY repair or a service-centre repair.
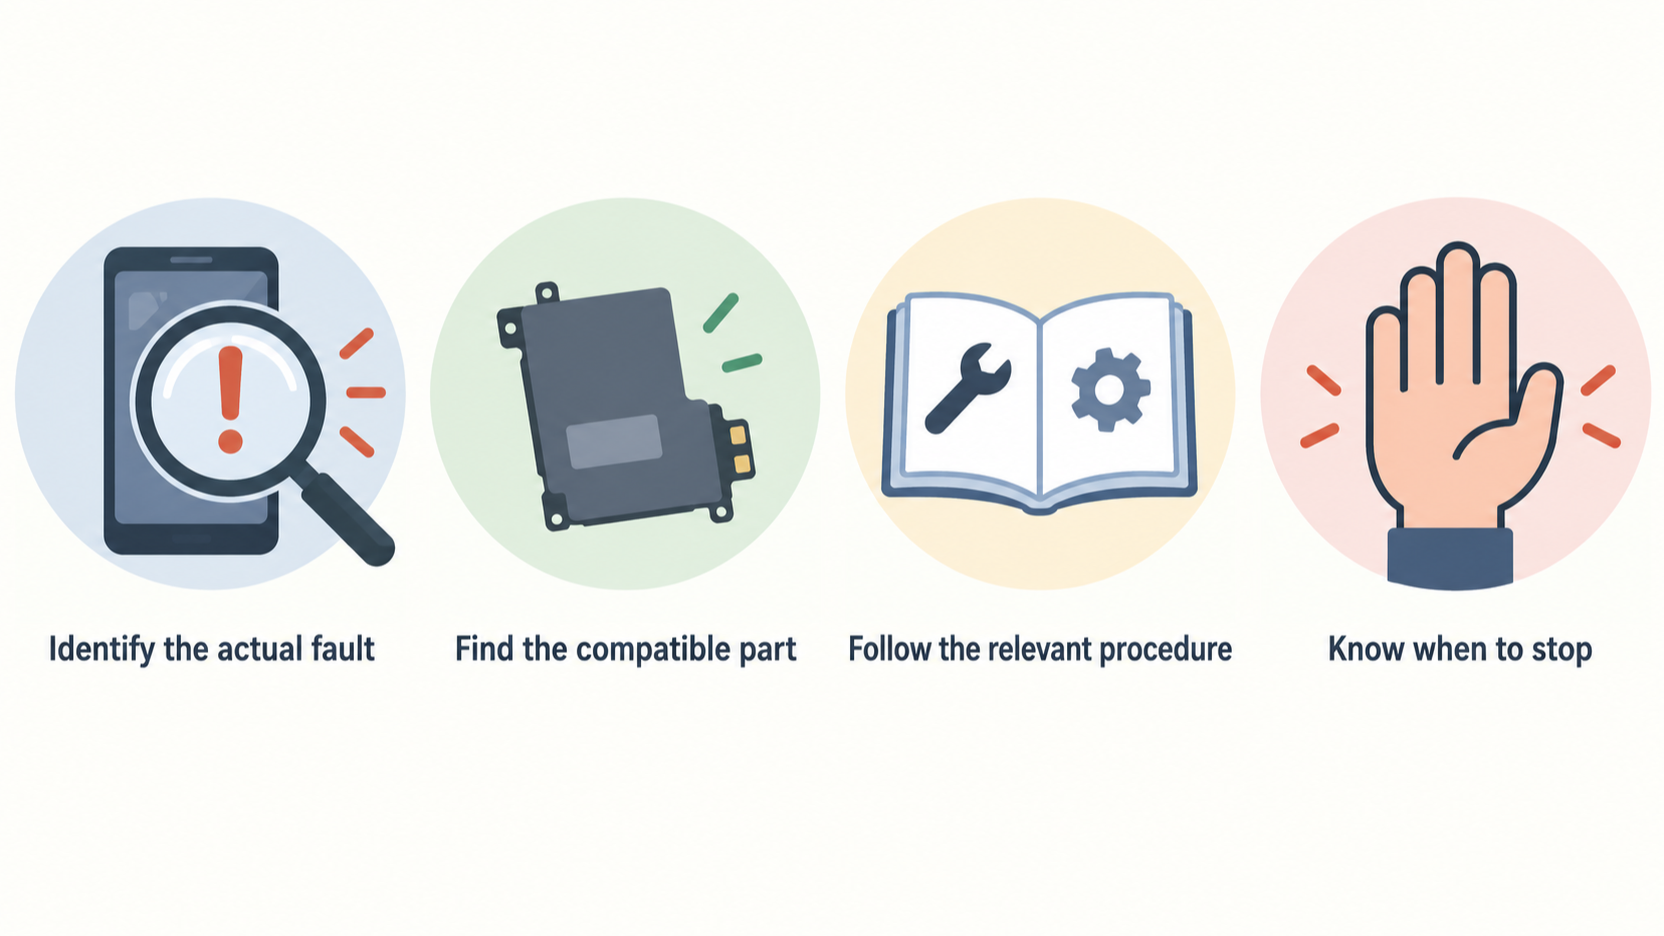
That structure matters. Repairability depends on identifying the actual fault, finding the compatible part, following the relevant procedure and knowing when to stop. Fairphone’s published guides and modular-parts catalogue give eligible owners a credible basis for repairing selected issues, but compatibility, stock, warranty status and confidence with small-device work should all be checked before committing.
This review considers the information most useful when deciding between repair, professional help and replacement: the diagnostic path, the range of documented repairs, genuine-part availability, basic tool requirements and the practical limits of DIY work.
Fairphone repairability at a glance
AI-generated illustration — not a retailer product photo.

Fairphone’s official repair offering is built around two routes: repair at home or send the device to a service centre. In ownership terms, that gives a damaged phone a potential repair path before replacement becomes the default decision. It does not mean that every symptom has the same cause, that every part will be available at the moment you need it, or that DIY is the right option for every owner.
The useful question is therefore not simply whether a Fairphone is “repairable”. It is whether your diagnosed issue has a suitable documented route, whether the needed part matches your model, and whether you can complete the work safely and confidently. A battery or display procedure may be a sensible home repair for a prepared owner; an uncertain, complex or safety-sensitive fault is better treated as a reason to seek further diagnosis.
For UK buyers weighing repair against replacement, the strongest practical benefit is the existence of an official process that connects diagnosis, repair options and parts. Treat that process as a decision tool, rather than skipping straight to a purchase or a teardown.
Start with diagnosis and choose the repair route
AI-generated generic editorial illustration — not a retailer product photo and does not depict the reviewed product or service. Make the diagnostic-first choice between DIY and professional repair immediately understandable.
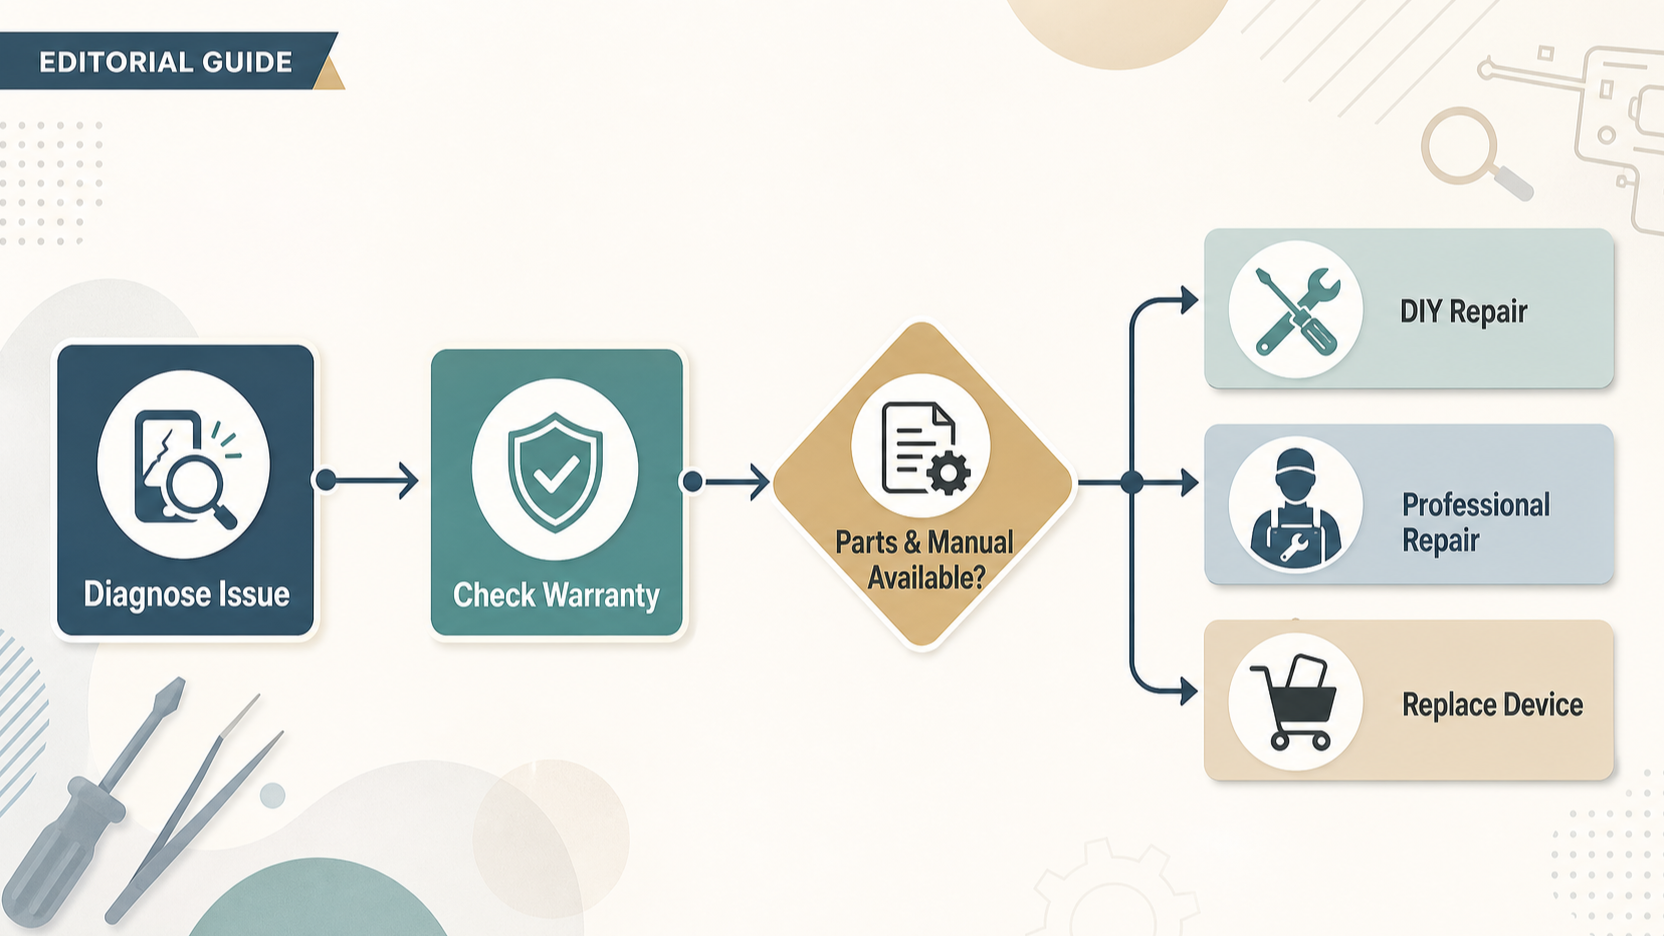 Fairphone advises owners to diagnose the device first. Its repair flow is presented in three stages: identify what is wrong, review the available options, then begin the repair process. This is a valuable starting point because similar symptoms can call for different next steps, and some repairs may be covered by warranty.
After diagnosis, Fairphone distinguishes between two routes. The DIY route is intended for repairs that are suitable to complete at home with the relevant part, screwdriver and guide. The service-centre route is for cases where sending the device in is more appropriate. Choosing between them before ordering a component helps avoid buying a part for an issue that has not been identified clearly.
A sensible owner-led sequence is:
- Use the official diagnosis route to clarify the issue.
- Check whether the repair option offered is DIY or service-centre based.
- Confirm the exact phone model and the relevant replacement part.
- Read the full guide before opening the device.
- Stop and seek professional help if the fault remains unclear or the procedure feels beyond your comfort level.
This is not a test of technical bravery. The purpose of diagnosis is to narrow the decision early, before time and money are spent on the wrong route.
What the official repair guides cover
AI-generated illustration — not a retailer product photo.
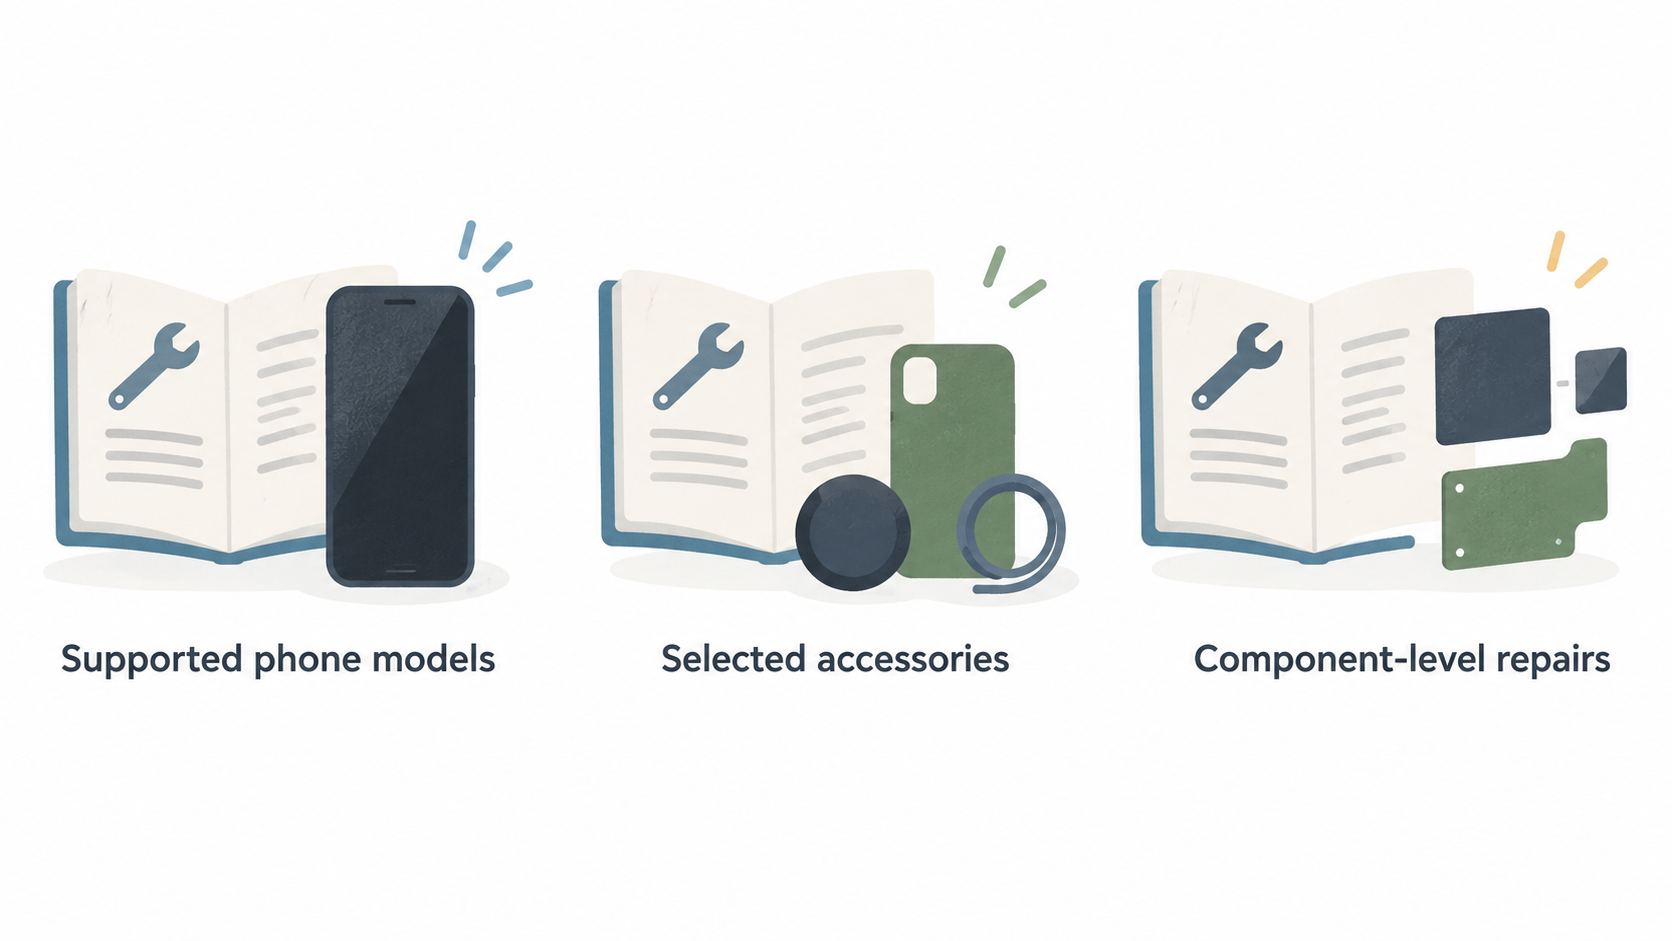
Fairphone publishes repair guides for supported phone models and selected accessories. Its repairs page lists guides for Fairphone (Gen. 6), Fairphone 5, Fairphone 4, Fairphone 3(+), Fairbuds XL and Fairbuds. The scope shown on that page demonstrates a modular approach to several common component-level repairs, rather than limiting the owner to a single general troubleshooting page.
Examples listed for Fairphone (Gen. 6) include replacing the battery, display, cameras and earpiece, top unit, and loudspeaker and USB-C port. These examples are especially useful for an owner trying to decide whether a visible or familiar hardware issue may have a documented repair path. They should not be read as proof that the same procedure or part applies to every generation of Fairphone.
The listed timings also help set expectations. Fairphone gives guide-specific estimates such as approximately five to ten minutes for a battery replacement and approximately ten to fifteen minutes for a display replacement on Fairphone (Gen. 6). Those are guide estimates, not a guarantee of the total time required for every person, condition or fault. Preparation, careful handling and checking the exact instructions can add time.
The practical strength here is documentation: owners can look for a model-specific procedure before deciding whether to proceed. The practical limitation is equally important: a guide is only relevant when the diagnosis, device model and component all match.
Genuine spare parts and availability
An official spare-parts catalogue is a meaningful part of Fairphone’s repair proposition. The shop asks customers to select their device to find the parts they need, which reinforces the need to check compatibility rather than assuming that a component is interchangeable across models.
The public range shown includes batteries, USB-C ports, displays, an ultra-wide camera, back covers, screw kits and a main camera. That breadth can make a component replacement more realistic than it would be where only a complete device replacement is offered. It also gives owners a clear way to identify the kind of part required before starting a repair.
Availability is not guaranteed. Fairphone’s listings show prices and stock status, and the supplied catalogue excerpt includes items marked out of stock. A component may therefore be unavailable when you need it, and the available selection can vary by device, country and time.
Before planning a DIY repair, verify three things in the shop: your exact device selection, the exact component required and its current stock status. If one of those checks fails, do not treat the catalogue’s wider range as confirmation that your particular repair can go ahead now.
DIY tools, preparation and safety boundaries
Fairphone states that an at-home repair requires the relevant spare part, a Phillips 00 or Torx T5 screwdriver, and the right repair guide. That is a concise list, but it should be treated as a minimum starting point rather than an instruction to begin immediately.
First, match the part and guide to the exact device. A repair can only be as sound as that initial match. Next, read the procedure in advance and prepare a clear, stable workspace where small components and screws can be handled carefully. Finally, judge your own confidence honestly. A short published guide time does not remove the need for patience when working inside a phone.
DIY is most appropriate when the diagnosis is clear, the official route identifies a suitable home repair, the compatible part is available and you are comfortable following the guide. Pause if any of those conditions is missing. Uncertainty about the fault, difficulty identifying the correct part or reluctance to carry out small-device work are all good reasons not to force the repair.
The same applies where a damaged battery or another safety concern is involved: do not turn an uncertain situation into an improvised repair. The official diagnosis and service-centre options exist to help owners choose a safer next step.
Professional repair, warranty and practical limitations
Fairphone says that some problems may be too complex for DIY repair and directs those cases to its trusted repair centres. The company says these centres will further diagnose the issue and explain the next steps. This route is particularly relevant when the original symptom is unclear, the required part cannot be confirmed, or the available DIY procedure does not fit the problem.
Warranty is another reason to diagnose first. Fairphone states that some repairs are covered by warranty while others are not. For chargeable work, it says it will keep the customer informed about costs and will only proceed with approval. Owners should therefore check their own warranty position rather than assuming either free repair or automatic coverage.
Professional repair is the more sensible choice when complexity, uncertainty or safety outweigh the convenience of working at home. It may also be the only practical choice when the necessary genuine part is unavailable. Modular parts and repair guides expand the possible DIY route, but they do not remove the need for specialist diagnosis in every case.
Frequently Asked Questions
Can I repair a Fairphone myself at home?
Potentially, if the issue has been diagnosed, Fairphone offers an appropriate DIY option for your model, the compatible part is available, and you can follow the relevant guide. Fairphone lists the spare part, a Phillips 00 or Torx T5 screwdriver and the right repair guide as the stated at-home requirements. If the fault is unclear or feels too complex, use the service-centre route instead.
What tools do I need for a Fairphone DIY repair?
Fairphone states that you need the relevant spare part, a Phillips 00 or Torx T5 screwdriver, and the appropriate repair guide. Confirm the exact guide and component for your device before starting, since tool and part suitability should be checked against the repair you are actually undertaking.
Are official Fairphone spare parts always in stock?
No. Fairphone’s shop shows current stock status and the supplied catalogue excerpt includes parts marked out of stock. Select your device and check the exact component at the time you need it; availability can vary by model, country and time.
When should I send my Fairphone to a repair centre instead?
Send it to a repair centre when the issue is too complex for DIY, the diagnosis is uncertain, a safety concern is present, or you cannot confidently match the problem to a suitable guide and compatible part. Fairphone says its repair centres can diagnose the issue further and explain the next steps, including whether costs apply.
Sources
Related reading
- Best phones for repairability in the UK: comparing Apple, Samsung, Google Pixel and Fairphone repair support
- iFixit mobile repair review: device guides, replacement parts, tool range and practical limits
- How to choose between DIY repair, professional repair and replacing a damaged phone
- How screen, battery and charging-port repairs differ in difficulty, parts support and post-repair checks
Editorial information: About our editorial team · Read our editorial policy · Read our affiliate disclosure.